Home

Wednesday, December 1, 2021

Altenew Build-A-Flower: Queen of the Lilies Release Blog Hop + Giveaway

Hi everyone!

Today is an exciting day: the release of the Altenew Build-A-Flower: Queen of the Lilies and I'm thrilled to be part of the release blog hop! If you're following the hop list, you should have arrived here from Emily Midgett's blog. You can find the complete list at the bottom of this post.


We're celebrating the release of Build-A-Flower: Queen of the LiliesWant to add a rare royal touch to your projects? Well, you're in luck! This stamp set features 8 layers to create gorgeously detailed Queen of the Lilies flowers. You will also find a couple of leaves with an outline layer, a full-color layer, and a color shading layer for beautiful stamping possibilities. Stamp one of the sweet sentiments to finish your card or layout. 

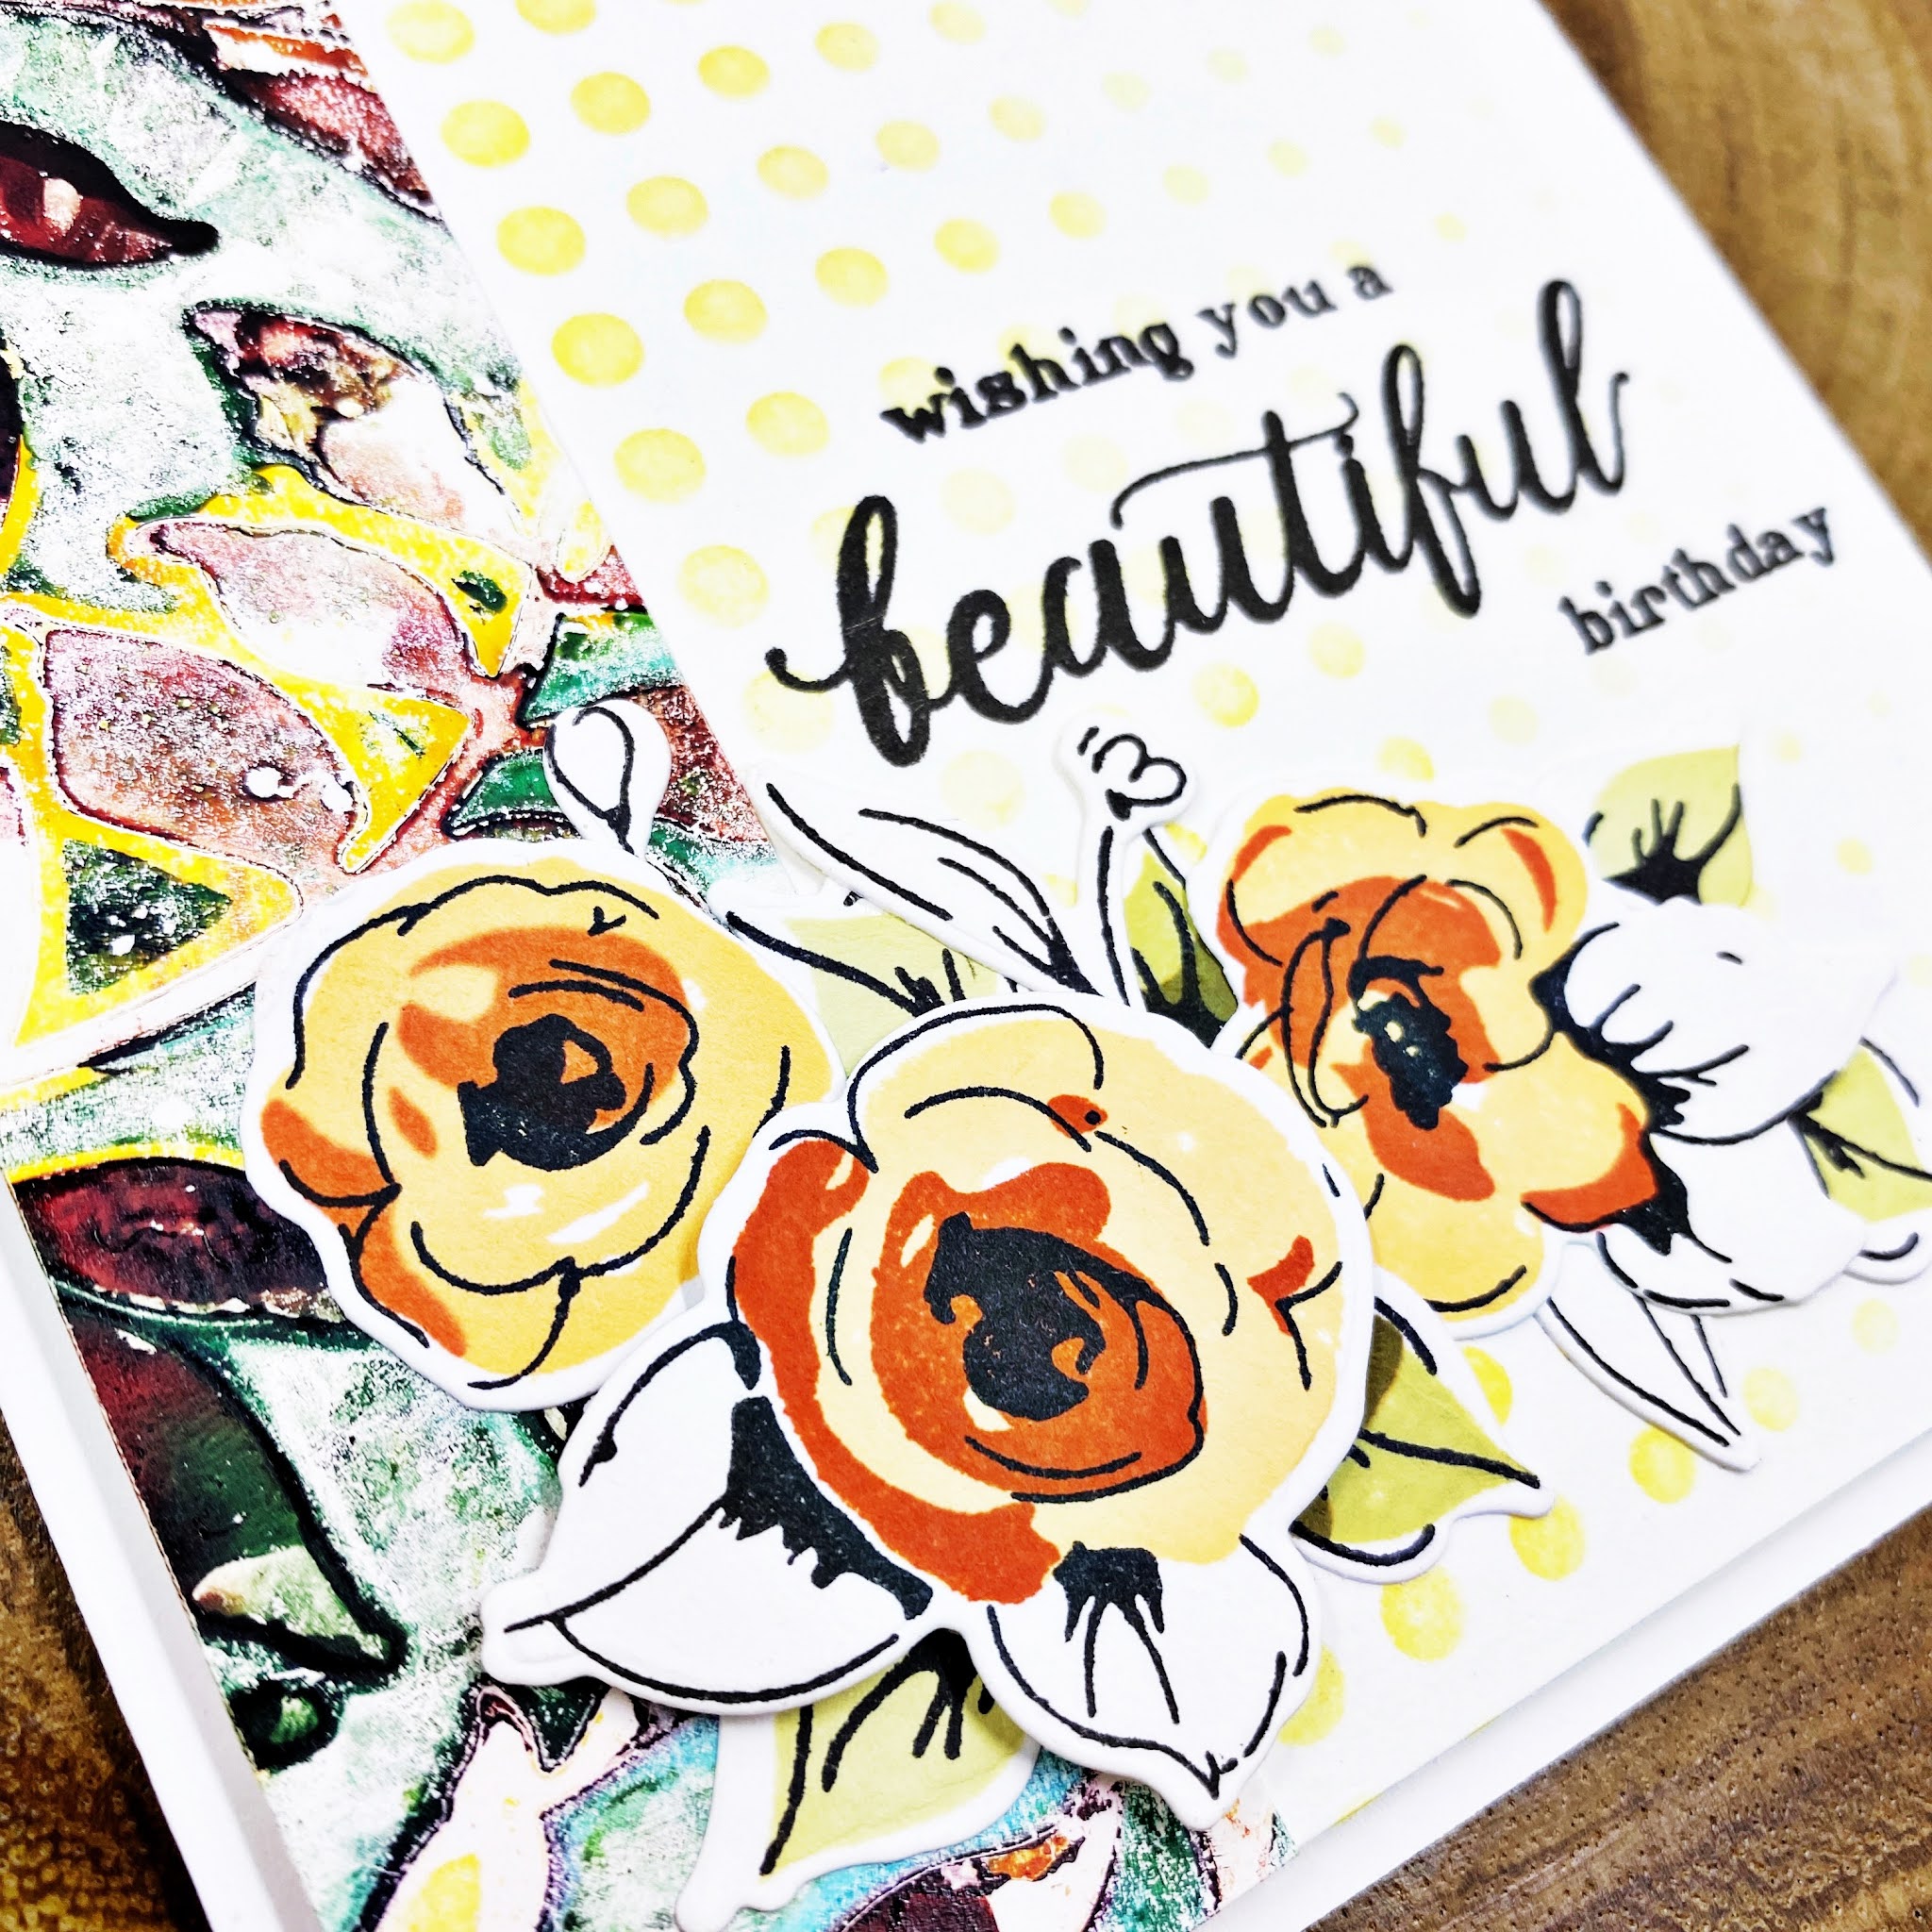
For this card I stamped the flowers twice with the Summer Afternoon Crisp Dye Ink Mini Cube Set and the leaves with the Nature's Wonders Crisp Dye Ink Mini Cube Set. I die cut the images with the coordinating die set and created my composition. Before I glued everything down, I created a background by placing the Halftone Stencil at an angle and inked it with Mountain Mist Crisp Dye Ink. The top flower is added with foam tape to create some dimension and I finished the card with one of the sentiments from the stamp set.

I hope you're inspired to start creating with this gorgeous new stamp set! If you don't want to miss out on all the new Build-A-Flower sets, you can always get a monthly subscription and save!


Giveaway Prizes
$200 in total prizes! To celebrate this release, Altenew is giving away a $50 gift certificate to 2 lucky winners and a $20 gift certificate to 5 winners! Please leave a comment on the Altenew Card Blog and/or each designer’s blog post on the blog hop list below by 12/07/2021 for a chance to win. Altenew will draw 7 random winners from the comments left on each stop of this blog hop and announce the winners on the Altenew Winners Page on 12/09/2021.

Now onto more inspiration with the Queen of the Lilies stamp set. Next on the hop list is the super talented Tenia Nelson! You can find the entire hop list below.

Thursday, October 21, 2021

AECP - Beautiful Details

Hello everyone!

Today I'm back with another card for the Altenew Educator Certification Program and this time I made a card for the course Beautiful Details. I was stunned by the water coloring talents of Marika and decided to use my Altenew water colors for this card.

I have zero talent for water coloring, let me start by saying that :-) But you have to start somewhere with a medium you need lots of practice with, so I stamped one of the leaves of the Peony Bouquet set a bunch of times, water colored the images and die cut them. I spread them all out to create the background of my card.


For the sentiment I used the Mega Greetings 2 set. I created an ombre effect with the inks of the Red Cosmos set for the big 'you'. The 'amaze me' part is white heat embossed on a black card stock die cut label.


The design of this card is completely different than what I usually do and honestly I'm not really sure if I really like it. What I do like, is that these classes are pushing me to think outside the box and get out of my comfort zone. There is another water color class in this program, so I can't wait to practice more and try new things.

While you're at the store, don't forget to check out the weekly sale with up to 45% off!!


Thank you for stopping by and enjoy your weekend!


Monday, October 18, 2021

AECP - Beyond Basic Backgrounds

Hi everyone!

Today I have another card to share for the Altenew Educator Certification Program and today's card is for the Beyond Basic Backgrounds. I loved this course and really got inspired to try new things for backgrounds!

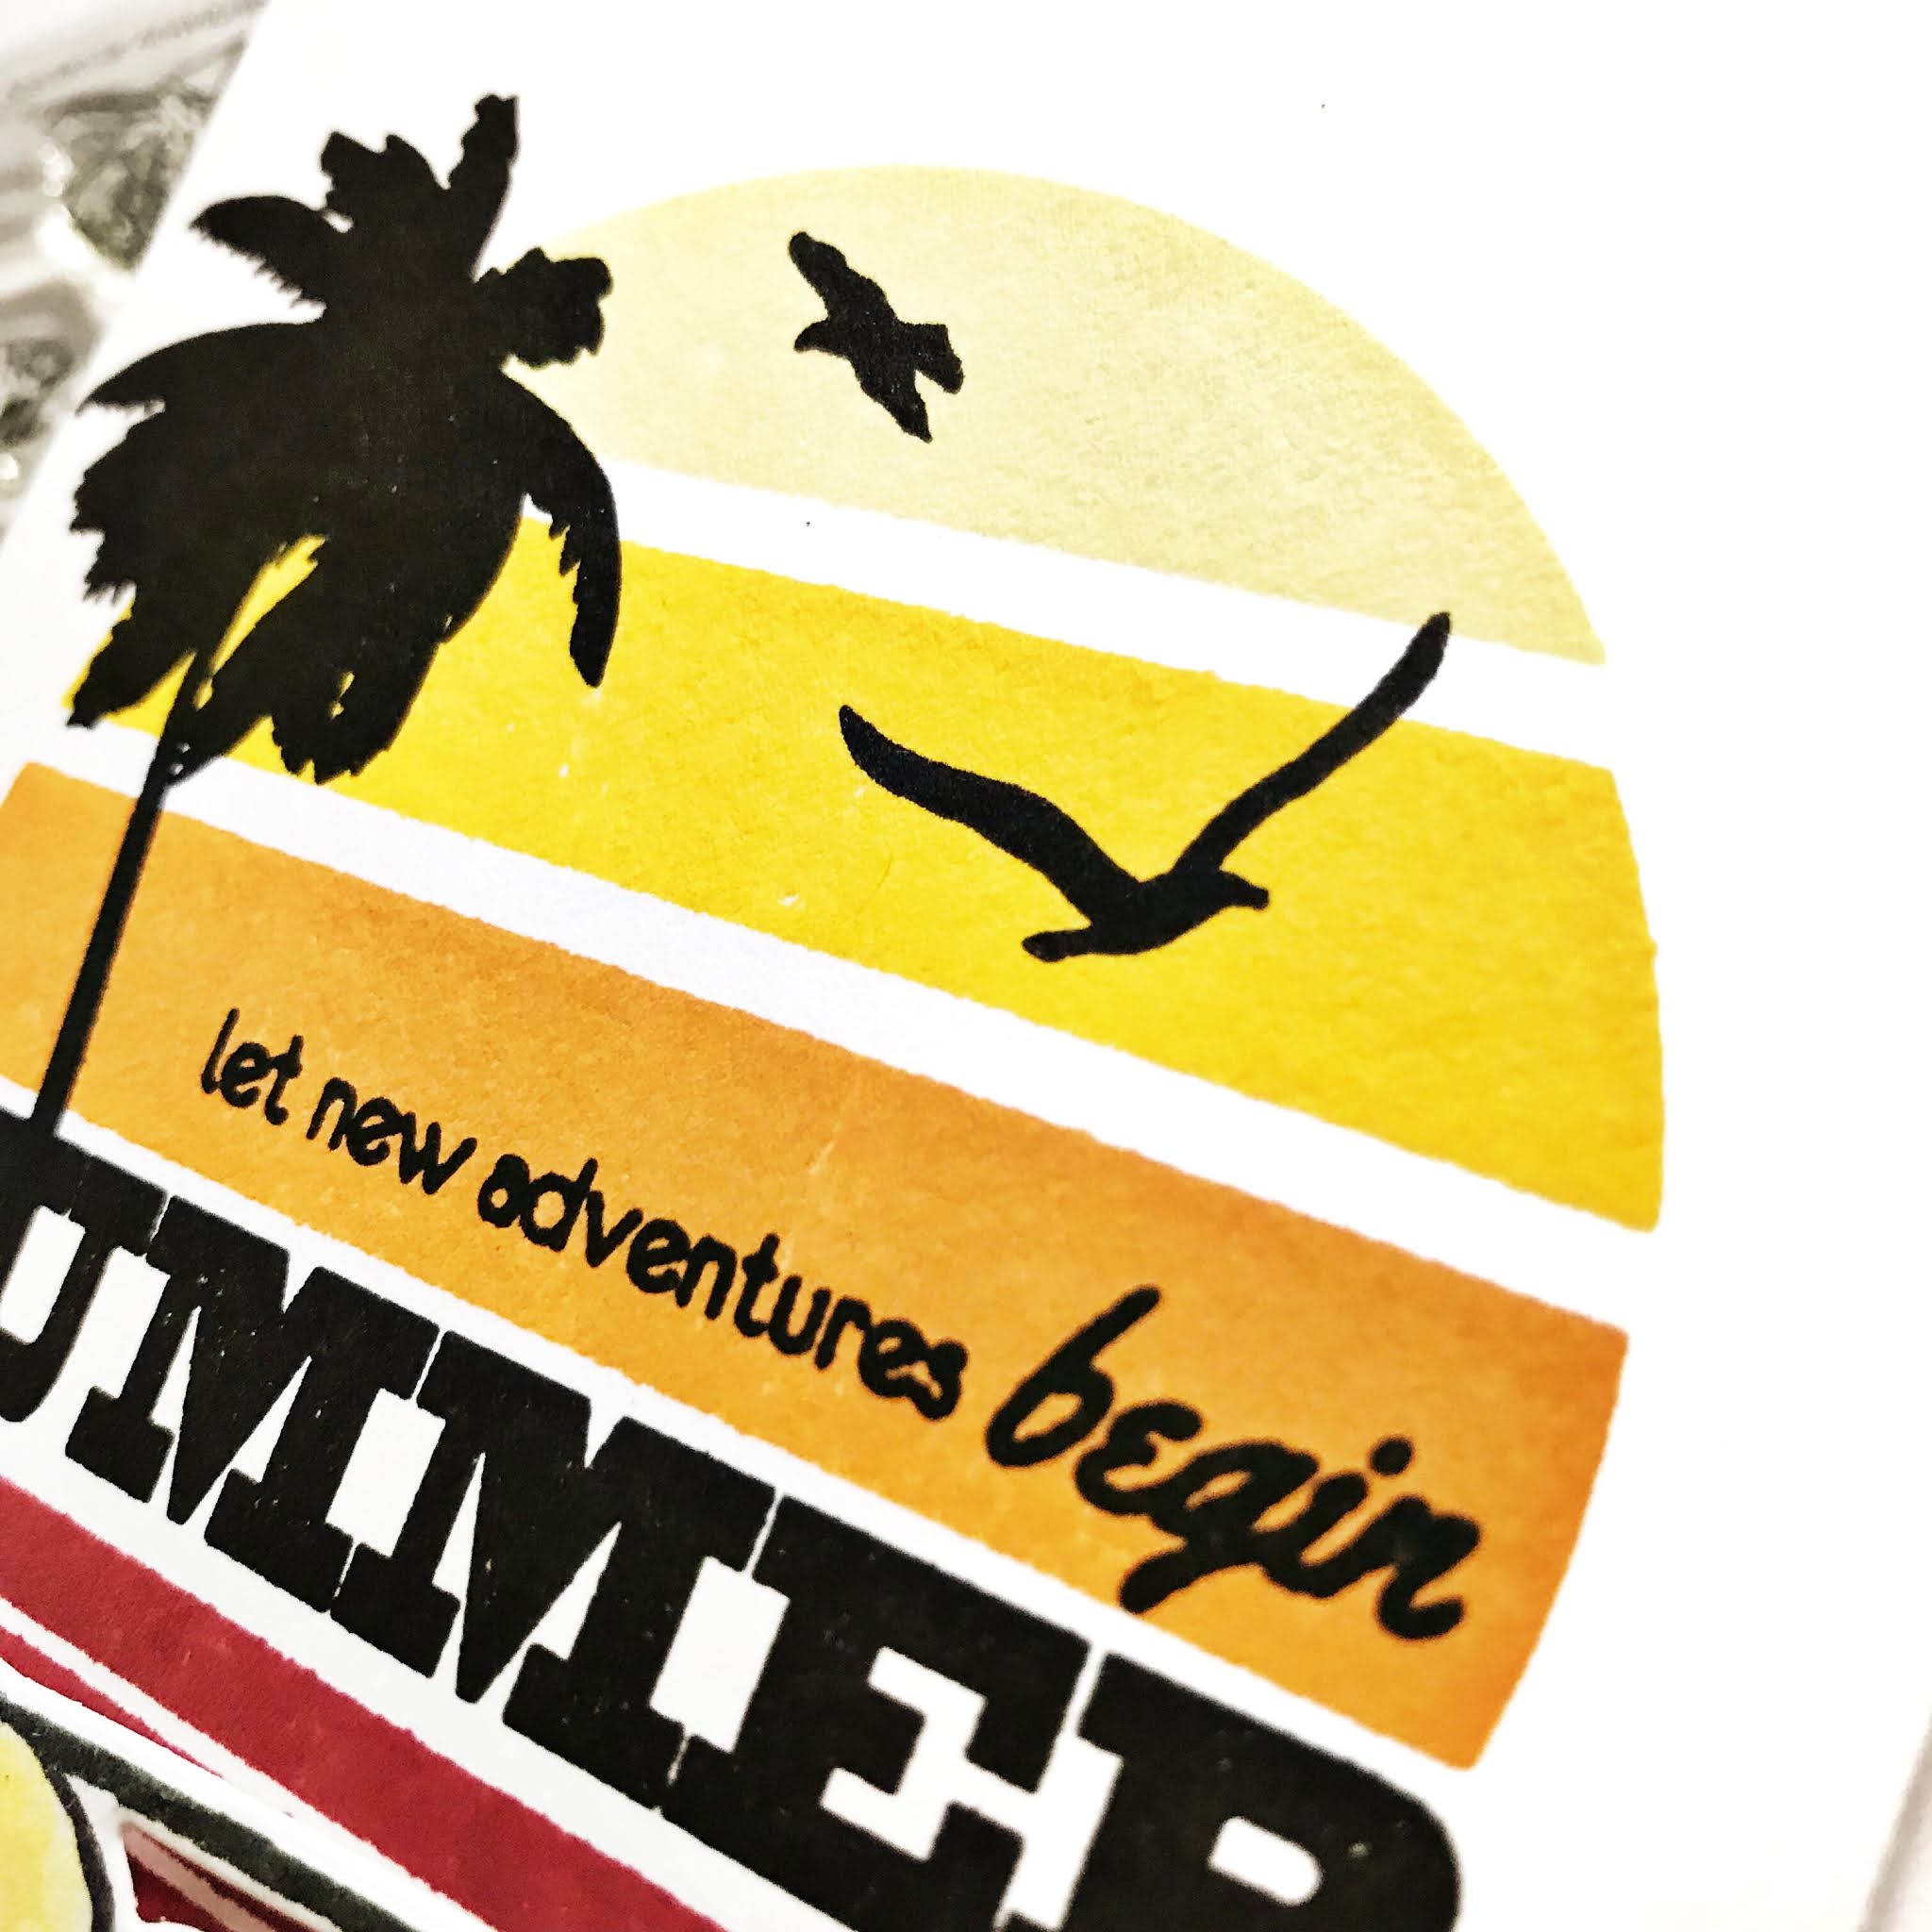
For my card I used the gorgeous circle shaped sunset from the Gradient Sunset stamp set with Crisp Dye Inks Buttercream, Warm Sunshine, Caramel Toffee and Grapevine. The black images are all stamped with Crisp Dye Ink Jet Black


One of my newest stamp sets is Spectacular Adventures and I just love how you can layer different scenes with the sunglasses. I stamped the sunglasses with Jet Black on water color paper and used the Water Color Essential 12 pan set to create a sunset reflection in the glasses. Then I stamped the beach scene reflection inside the glasses. I die cut the image and added it to the card with foam tape.


While you're at the store, don't forget to check out the weekly sale with up to 45% off!!


Thank you for stopping by and have a wonderful day!


Thursday, September 30, 2021

AECP - Level 1 final assignment

Hi everyone!

It has been a while....we enjoyed a nice 3 week vacation with family, but I'm happy to be back to creating things! I finished all classes for AECP Level 1 and now it is time to share with you my final assignment for this level.

I had to create 2 sets of cards, a his and her set, and create packaging for the sets of cards as well. For the cards I need to use 3 components from Level 1 classes and use them on all cards. Also a recycle element has to be used for either the cards or the packaging.

The 3 components I chose for my cards are Layering, Irresistible Inking Techniques and Celebration Stencil Techniques. Layering was an easy choice since that is my favorite thing about Altenew stamps. I have absolutely zero drawing or painting skills and these stamps make me feel a bit of an artist if you look at what you can create with them.

I started with an inking technique that I'm currently discovering: alcohol inks on a gel plate. It is really amazing what you can create with these, so that component was an easy choice for me too. Stencils are something I use with almost anything I create. I incorporated the stencil element in the inking element and you can see in the video below how it works.

So I created a couple backgrounds with this technique and used smaller pieces of it on each card. I added layering and sentiment stamps to each card for the 3rd component. I'll mention all stamp sets I used with each card below.

Hers Cards
              
                
                 Painted Butterflies Stamp & Die set; Sentiment Strips Stamp set


                 Fresh Bloom Stamp & Die set; Super Script Stamp set
                     

                 Balloon Bunch Stamp & Die set


His Cards
                 Balloon Bunch Stamp & Die set
                  
                  
                  Doodled Triangles Stamp setSentiment Strips Stamp set


                   Painted Flowers Stamp & Die set; Perennial Beauty Stamp set; Halftone Stencil
                   
    
                   Simple Shapes Stamp setSuper Script Stamp & Die set

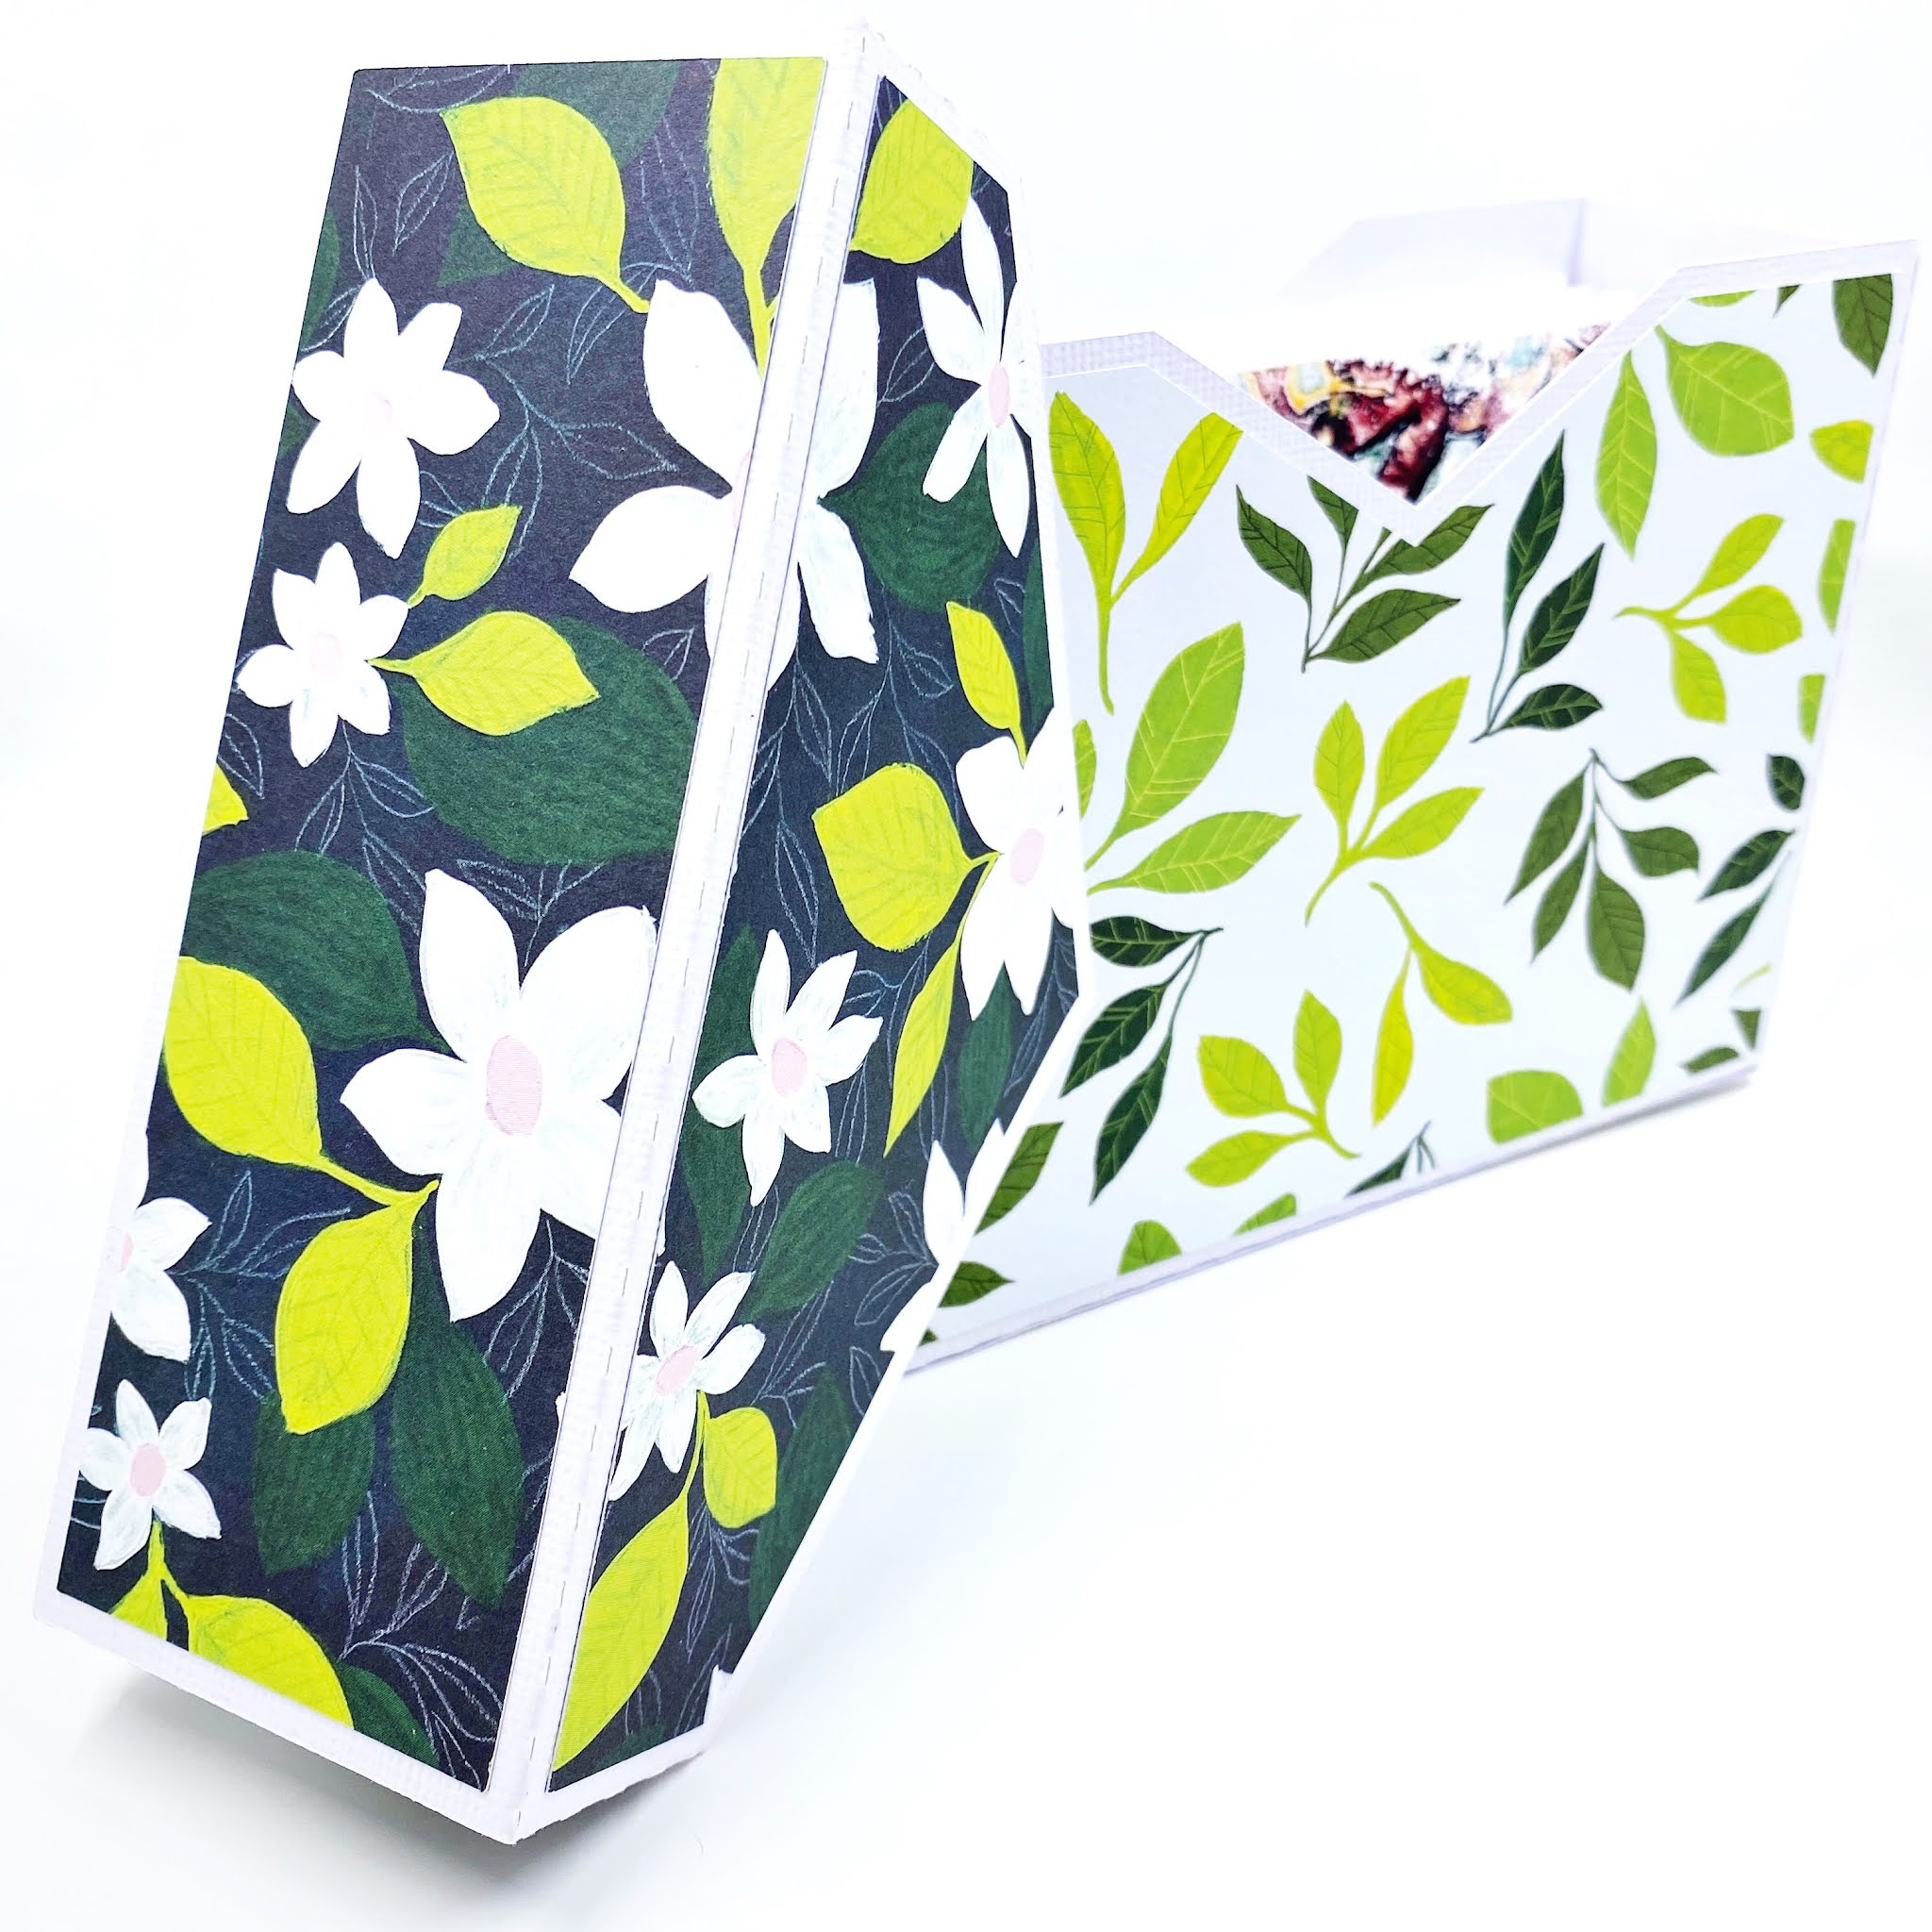
For the packaging I used a cut file by Lori Whitlock to create these cute card boxes. I cut the bases out of white card stock and used papers from the Altenew Enjoy the Ride collection for the decorative pieces on the boxes. I'm a hoarder of twine and ribbon, mainly collected from packages I've received. Since I had to use a recycle element for this challenge, some pieces of twine came in handy to decorate the boxes.


This challenge pulled me quite out of my comfort zone and it wasn't as easy as I thought, especially the masculine cards are something I will always struggle with. This is what I love about AECP though, I keep getting challenged. Now I can't wait to see what Level 2 will bring. 

Thank you for stopping by today and check back soon for new projects!


Friday, August 13, 2021

AECP - Irresistible Inking Techniques

Hi everyone!

Today I'm sharing two cards with you for the AECP Irresistible Inking Techniques course. I got triggered by the use of a brayer in one of the classes, which reminded me to use my gel plates more often. I love playing with gel plates, there are so many possibilities and different mediums you can use with it.

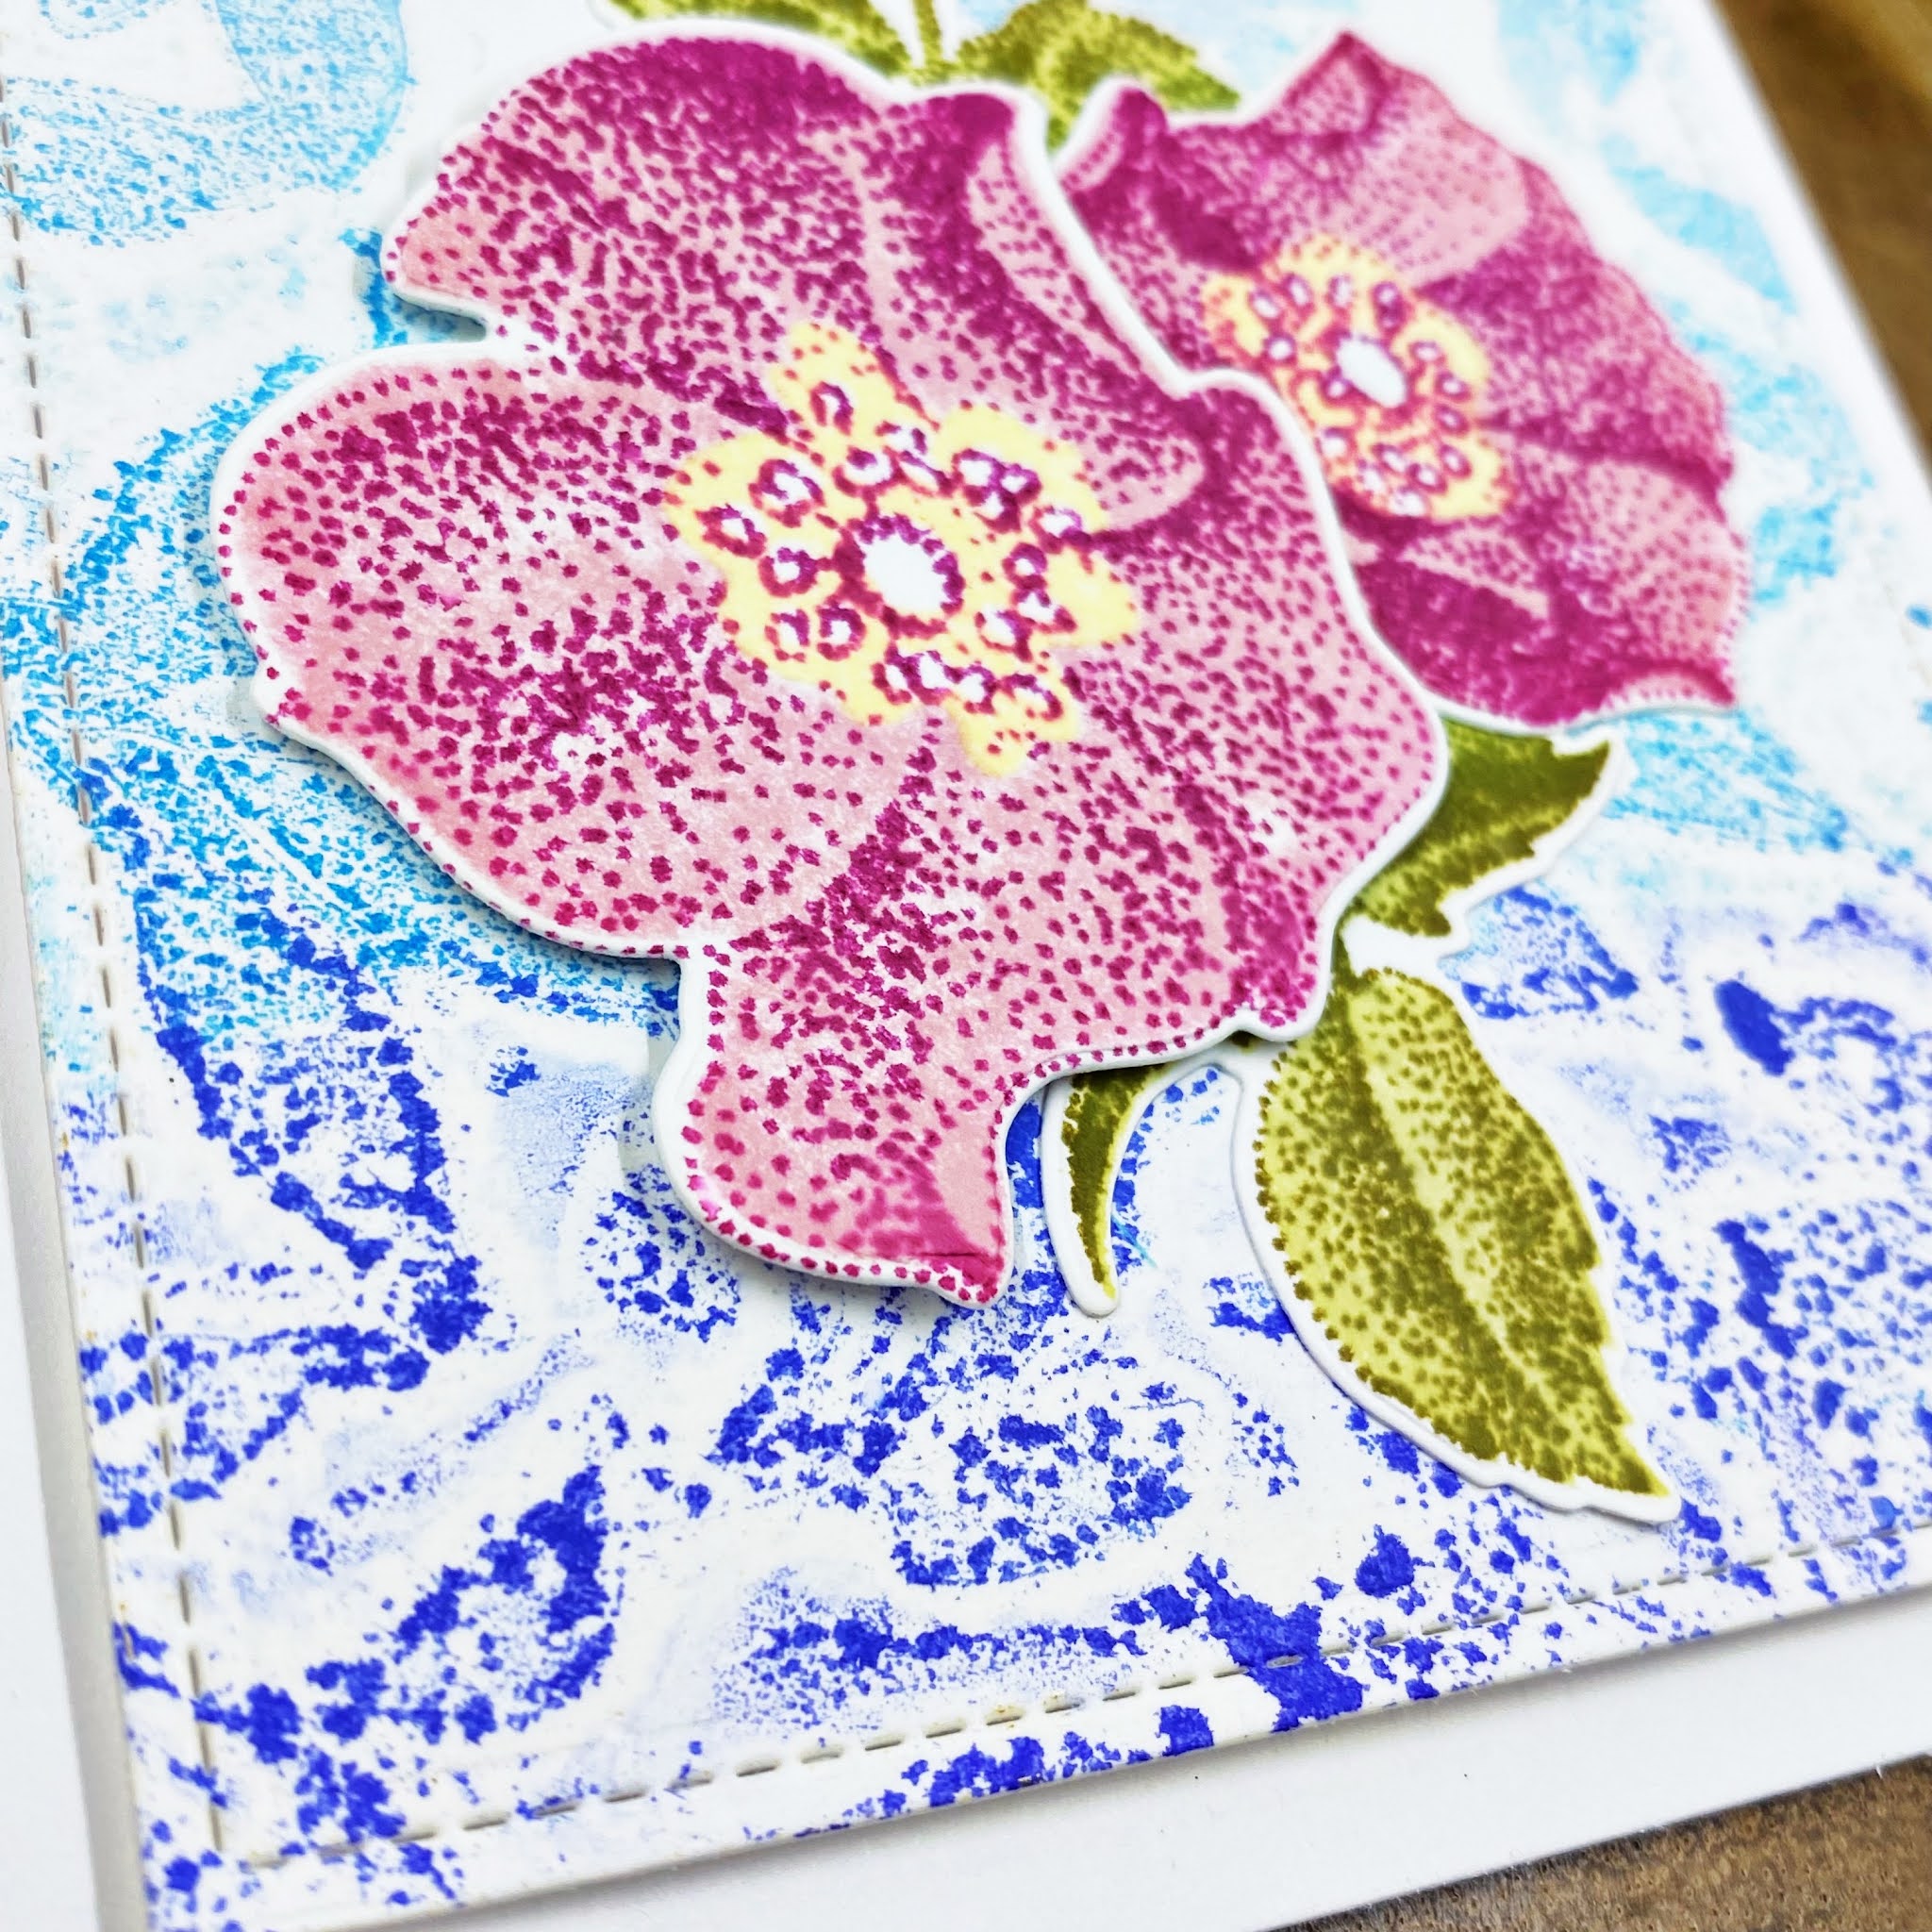
I used the gel plate to create the background for this card. I inked up the plate with Distress Oxide Inks Tumbled Glass, Mermaid Lagoon and Blueprint Sketch. I used a brayer to even out the ink and get a nice ombre blend. I put the Leaf Bed stencil on top of the inked plate and took a print of it. Then I removed the stencil and took another print for this card. The second time around you get a print of the negative of the stencil. You can easily create a bunch of backgrounds in a short time.

I used the Peaceful Reverie stamp set, it's hard to believe that every flower has only two layers. There's so much depth in these flowers! I used Cherry Blossom and Nurate's Wonders Crisp Dye Inks. The sentiment is from the Amazing Things stamp set.


This was my last card for the AECP Level 1 courses, now I will have to do a final assignment before I will start Level 2. I've had so much fun so far already and can't wait to continue!

Thank you for stopping by and enjoy your weekend!